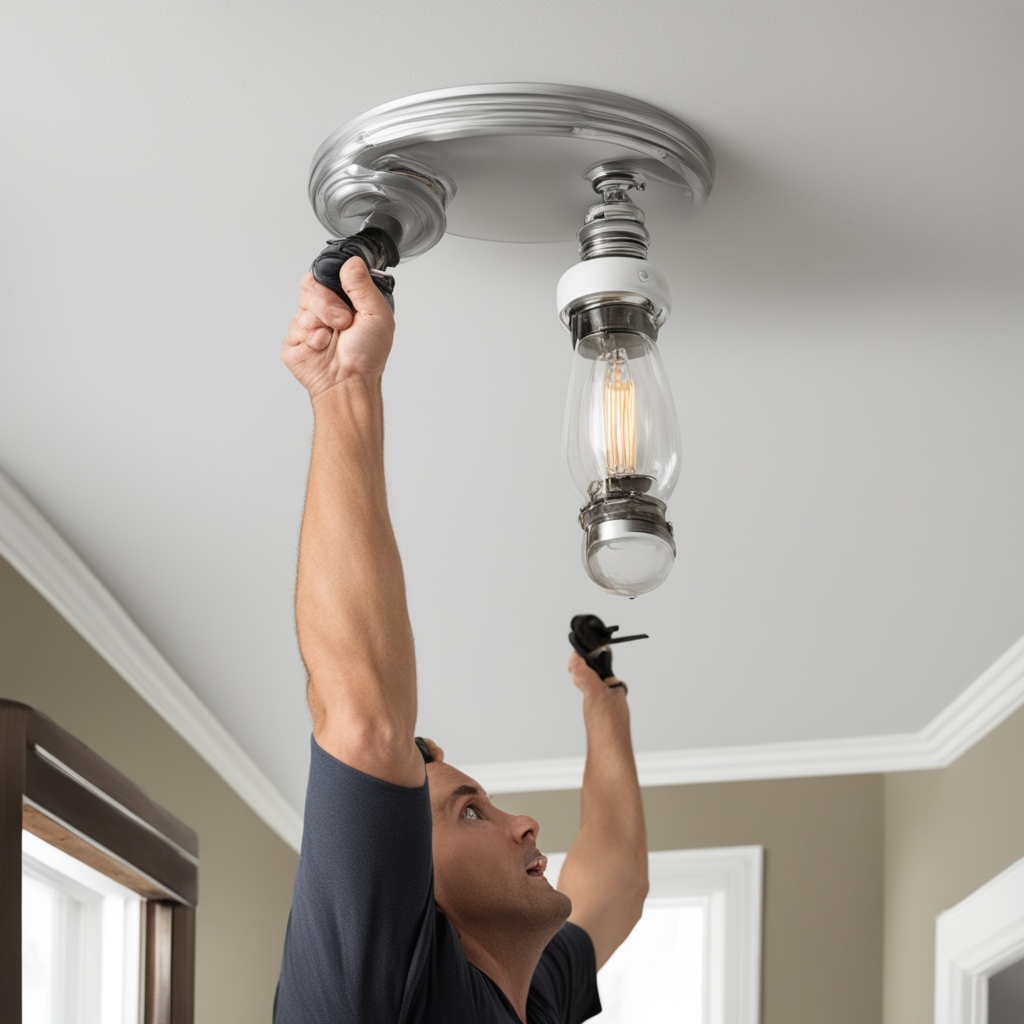
DIY Guide: Installing a Light Fixture Safely in 5 Easy Steps
Are you looking to enhance the lighting in your home without calling in a professional electrician? Installing a light fixture can be a rewarding and manageable DIY project, provided you follow safety measures and the correct step-by-step process. In this guide, we’ll walk you through the process of installing a light fixture safely in five easy steps.
Step 1: Gather Your Tools and Materials
Before diving into the installation process, ensure you have all the necessary tools and materials at your disposal. For this project, you’ll typically need:
New light fixture
Screwdriver
Wire stripper
Voltage tester
Wire connectors
Ladder
Double-check that the power to the circuit you’ll be working on is turned off at the main breaker panel to avoid any accidents. Safety should always be your top priority.
Step 2: Remove the Old Fixture
If you’re replacing an existing light fixture, start by turning off the power to the existing light at the breaker panel. Once confirmed, use a screwdriver to remove the old fixture’s mounting screws and detach it from the electrical box. Be cautious as you lower the fixture to avoid damaging any wires.
With the old fixture removed, use a voltage tester to ensure that the power is indeed turned off. This extra step ensures your safety throughout the installation process.
Step 3: Connect the Wires
Identify the different wires – typically black (hot), white (neutral), and green or bare (ground) wires. Furthermore, match these wires with the corresponding wires on your new light fixture. In addition, use a wire stripper to expose about ¾ inch of wire on each end and twist the corresponding wires together. Above all, secure the connections with wire connectors.
If your new fixture includes a grounding wire, be sure to connect it to the grounding wire in the electrical box. Above all, a solid and secure connection is crucial for the proper functioning of your light fixture.
Step 4: Mount the New Fixture
Once the wiring is securely connected, carefully tuck the wires into the electrical box. Further, align the mounting screws of your new fixture with the screw holes in the electrical box, and use a screwdriver to tighten them in place. In addition, ensure the fixture is stable and level before proceeding.
Step 5: Test and Adjust
With the new light fixture securely mounted, restore power at the breaker panel and test the light switch to ensure everything is functioning correctly. If the light doesn’t turn on, double-check your wiring connections and consult the manufacturer’s instructions for troubleshooting.
Remember, if at any point you feel unsure or uncomfortable, it’s best to seek professional assistance. Safety should be the top priority in any electrical project.
Installing a Light Fixture Safely-Conclusion: Illuminate Your Space with Confidence
By following these five easy steps, you can successfully install a light fixture in your home and bring a new level of illumination to your space. Moreover, DIY projects like this one not only save you money but also provide a sense of accomplishment. Above all, remember to prioritize safety throughout the process, and don’t hesitate to consult with a professional if needed. Now, enjoy the well-lit ambiance of your newly installed light fixture!